基本概念介绍
目标检测的四个基本步骤:
- 候选区域生成
- 特征提取
- 分类
- 位置精修
RCNN的算法:
- 将一张图片生成2K个候选区域;
- 对每个候选区域,使用深度网络(deep net)提取特征;
- 特征送入每一类的SVM分类器,判别是否属于该类;
- 使用回归器精细修正候选框的位置;
从RCNN到fast RCNN,再到faster RCNN,目标检测的四个基本步骤终于被统一到一个深度网络框架之内。所有计算没有重复,完全在GPU中完成,大大提高了运行速度。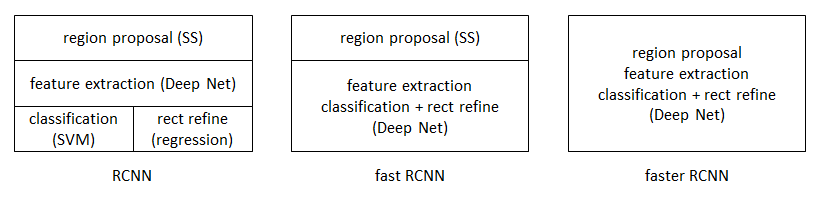
fast RCNN在RCNN的基础之上,将分类和位置精修统一到了一个深度网络之内。faster RCNN可以简单地看做“区域生成网络+fast RCNN“的系统,用区域生成网络代替fast RCNN中的Selective Search方法。
Faster-RCNN的配置与编译
配置Caffe环境
下载有关Caffe的所有的依赖项,可以查看安装Caffe的教程
配置Faster-RCNN环境
安装cython,python-opencv,easydict:
下载py-faster-rcnn
进入py-faster-rcnn/lib,执行
进入py-faster-rcnn/caffe-faster-rcnn,将我改好的Makefile.config复制该路径下:
配置好Makefile.config文件,执行:
编译caffe时报错memcpy在此作用域中尚未声明,如下: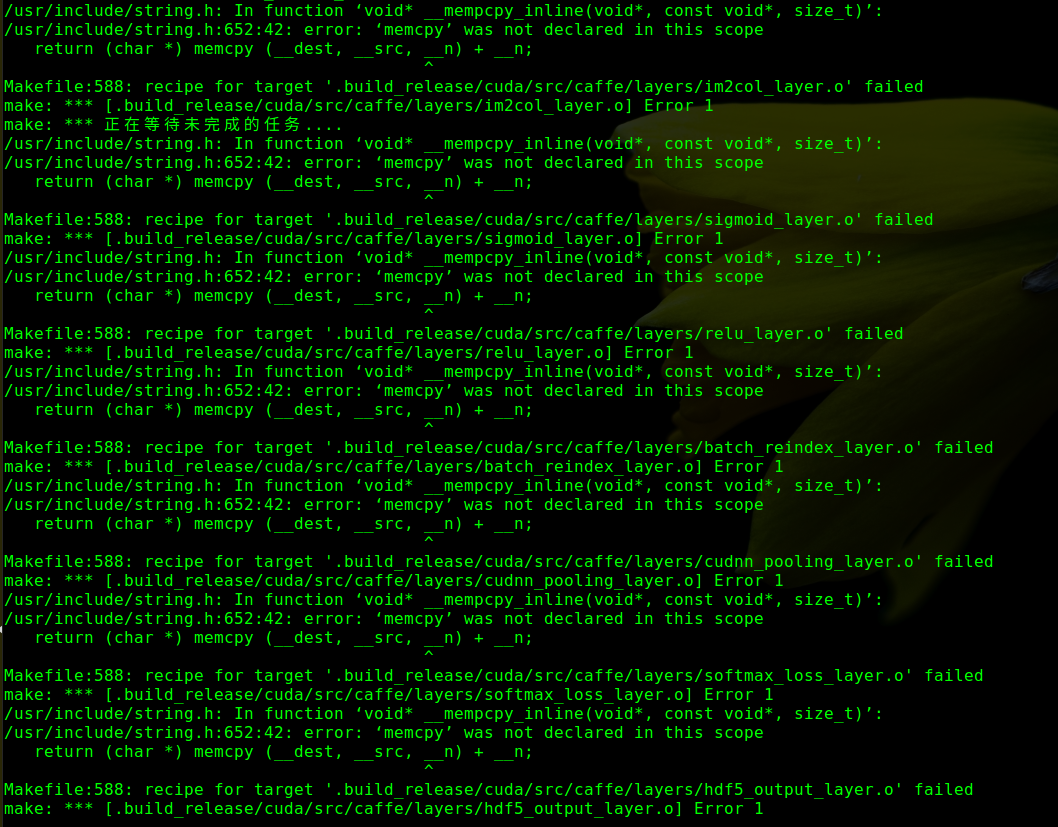
这可能是GCC的版本太高了,我们需要在makefile修改NVCCFLAGS变量,来强制将GCC的版本降低:
|
|
处理思路
使用自己定制的数据集训练Faster-RCNN模型,一般有两种思路:其一,修改Faster-RCNN代码,适合自己的数据集;其二,将自己的数据集格式改为VOC2007形式的数据集。从工作量上看,无疑后者更加容易一些(下面的例子采取第二种方法)。
- 图片的命名格式
虽然图片的命名理论上不会影响训练。因为训练的数据都是从txt文件中读取图片的名称。但是为了统一数据集,仍然建议批量、有规律的命名数据图片。 VOC格式的数据集格式
VOC格式的数据集格式如下:12345---VOC2007------Annotations------ImagesSet---------Main------JPEGImagesMain中的四个txt文件
txt内容即是图片名字,所以遍历一遍JPEGImages或者Annotations都行.1234test.txt是测试集,大概是整个数据集的50%;trainval是训练和验证数据集,也就是整个数据集的剩余的50%train.txt是训练集,是trainval的50%val.txt是验证集,trainval剩余的50%
数据处理
从最原始的Faster-RCNN来看,VOC2007格式的数据格式如下所示: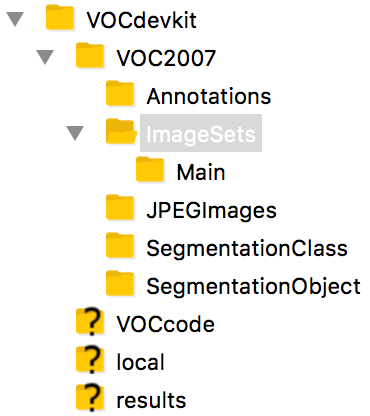
Annotations中存在的是.xml文件,文件中记录描述每张图的ground truth信息,如下所示: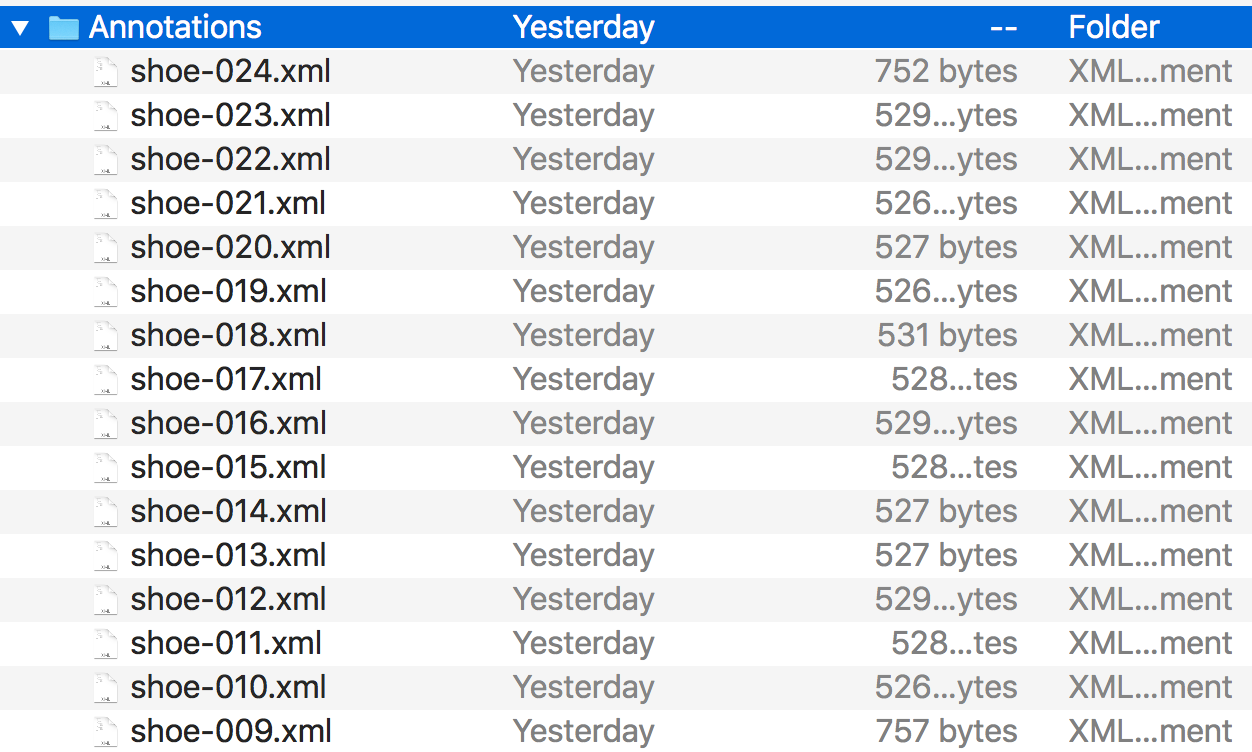
每个xml文件的内容具体如下:
ImageSets/Main存放的是test.txt、trainval.txt、train.txt、val.txt。 其中,test.txt是测试集,大概占整个数据集的20%;trainval.txt是训练集和验证集的组合,也就是整个数据集剩下的80%;train.txt是训练集,是trainval.txt的90%;val.txt是验证集,是trainval.txt的10%。
每个TXT文件的内容都是相应图片的前缀(去掉后缀.jpg),如下所示:
JPEGImages中存放的是.jpg图片,如下所示: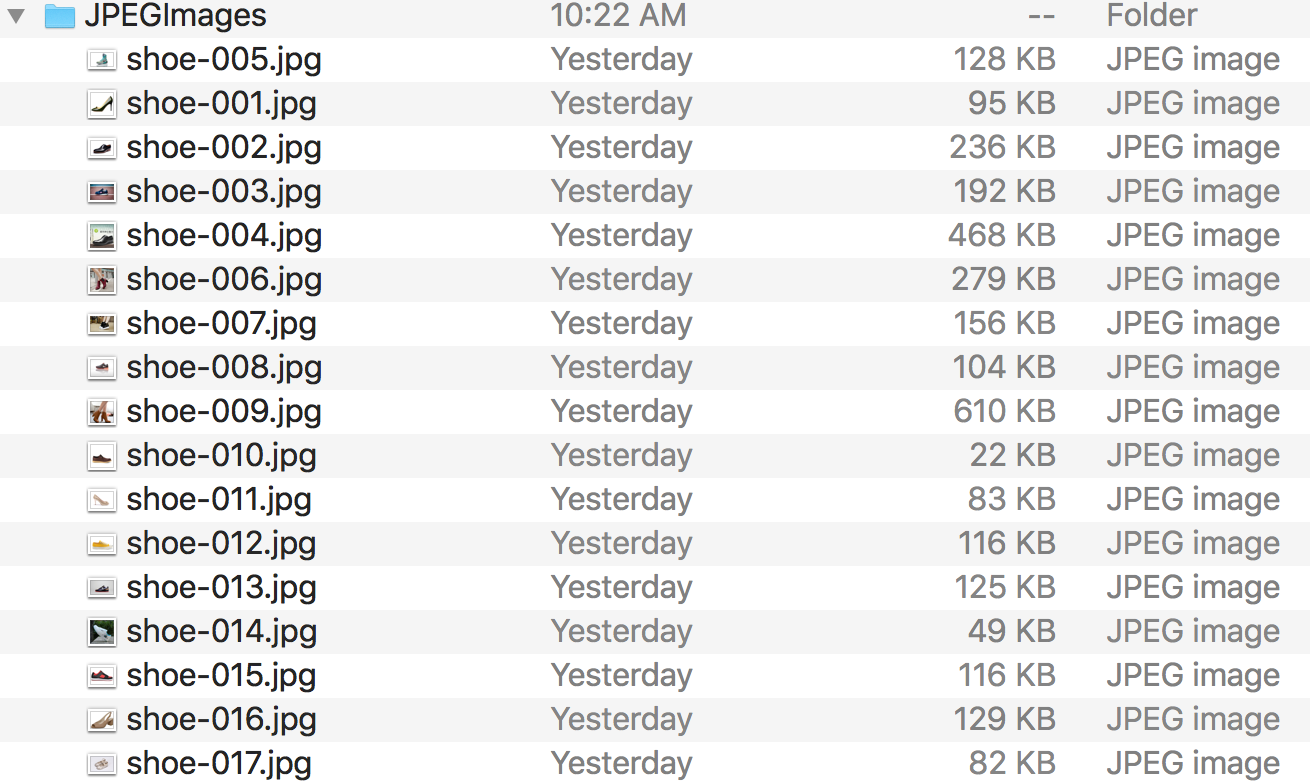
到此为止,你可以用自己定制的数据集的Annotations,ImageSets和JPEGImages替换py-faster-rcnn/data/VOCdevkit2007/VOC2007中对应的文件夹。
修改Faster-RCNN的训练参数
修改stage1_fast_rcnn_train.pt
第1步:py-faster-rcnn/models/pascal_voc/ZF/faster_rcnn_alt_opt/stage1_fast_rcnn_train.pt修改如下:
|
|
|
|
修改stage1_rpn_train.pt
第2步:py-faster-rcnn/models/pascal_voc/ZF/faster_rcnn_alt_opt/stage1_rpn_train.pt修改如下:
修改stage2_fast_rcnn_train.pt
第3步:py-faster-rcnn/models/pascal_voc/ZF/faster_rcnn_alt_opt/stage2_fast_rcnn_train.pt修改如下:
|
|
|
|
修改stage2_rpn_train.pt
第4步:py-faster-rcnn/models/pascal_voc/ZF/faster_rcnn_alt_opt/stage2_rpn_train.pt修改:
修改faster_rcnn_test.pt
第5步:py-faster-rcnn/models/pascal_voc/ZF/faster_rcnn_alt_opt/faster_rcnn_test.pt修改:
|
|
修改pascal_voc.py
第6步:py-faster-rcnn/lib/datasets/pascal_voc.py修改:
修改pascal_voc.py
第7步:修改lib/datasets/pascal_voc.py的_load_pascal_annotation()函数:
修改学习率
第8步:学习率可以在py-faster-rcnn/models/pascal_voc/ZF/faster_rcnn_alt_opt中的solve文件设置;
修改迭代次数
第9步:迭代次数可以在py-faster-rcnn/tools的train_faster_rcnn_alt_opt.py中修改。
分别为4个阶段(rpn第1阶段,fast-rcnn第1阶段,rpn第2阶段,fast-rcnn第2阶段)的迭代次数。可改成你希望的迭代次数。
如果改了这些数值,最好把py-faster-rcnn/models/pascal_voc/ZF/faster_rcnn_alt_opt里对应的solver文件(有4个)也修改,stepsize小于上面修改的数值。
训练模型
我们采用ZF模型进行训练,输入如下命令:
!!!为防止与之前的模型搞混,训练前把output文件夹删除(或改个其他名),还要把py-faster-rcnn/data/cache中的文件和py-faster-rcnn/data/VOCdevkit2007/annotations_cache中的文件删除(如果有的话)
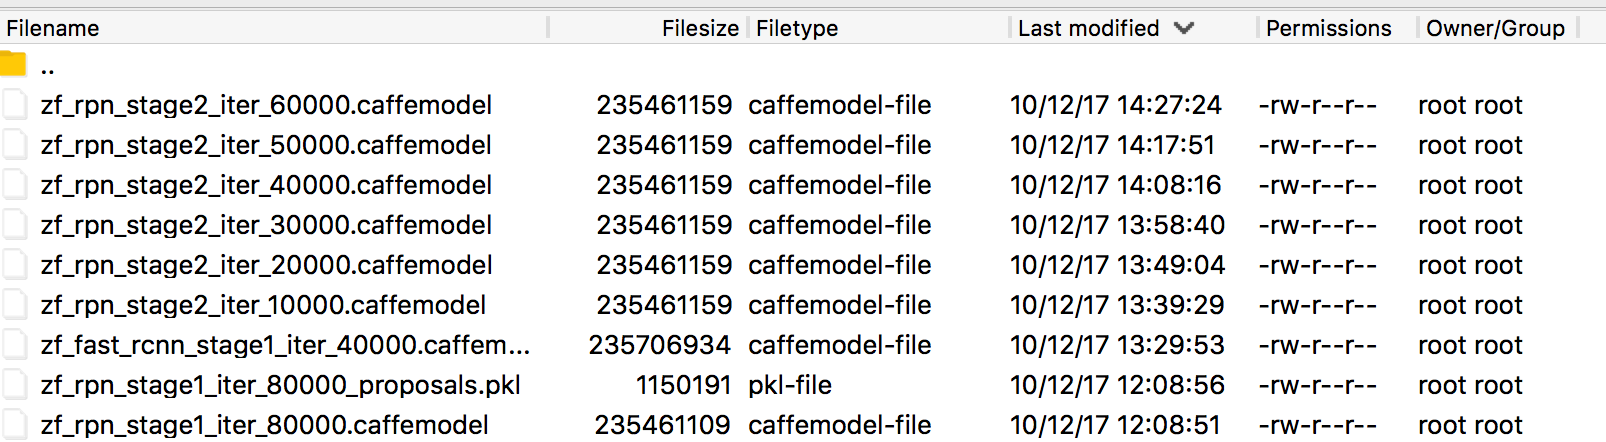
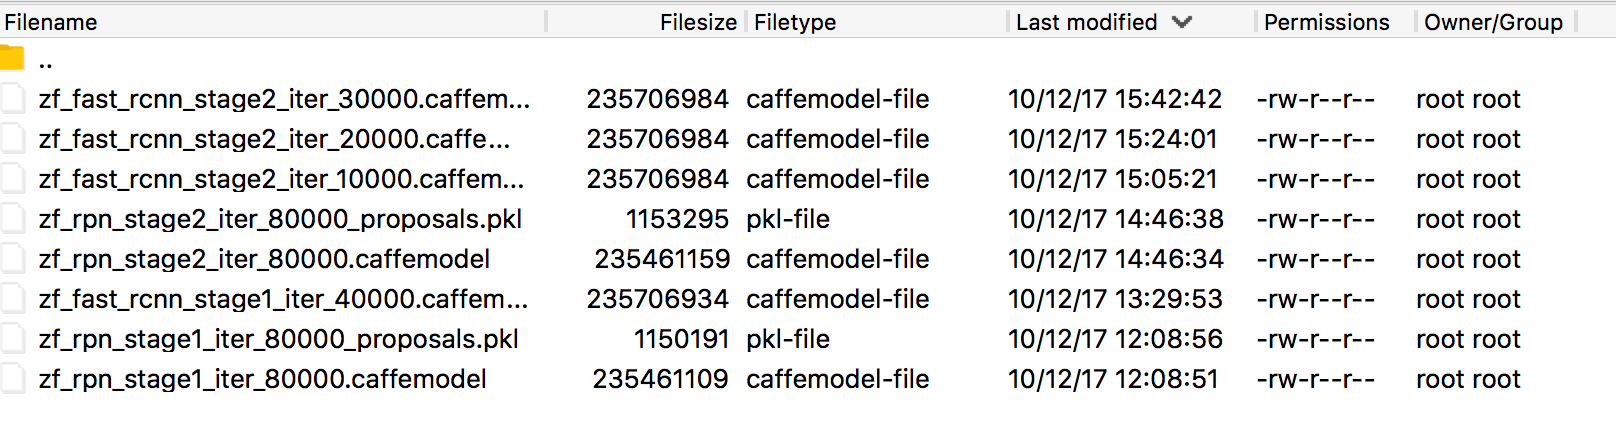
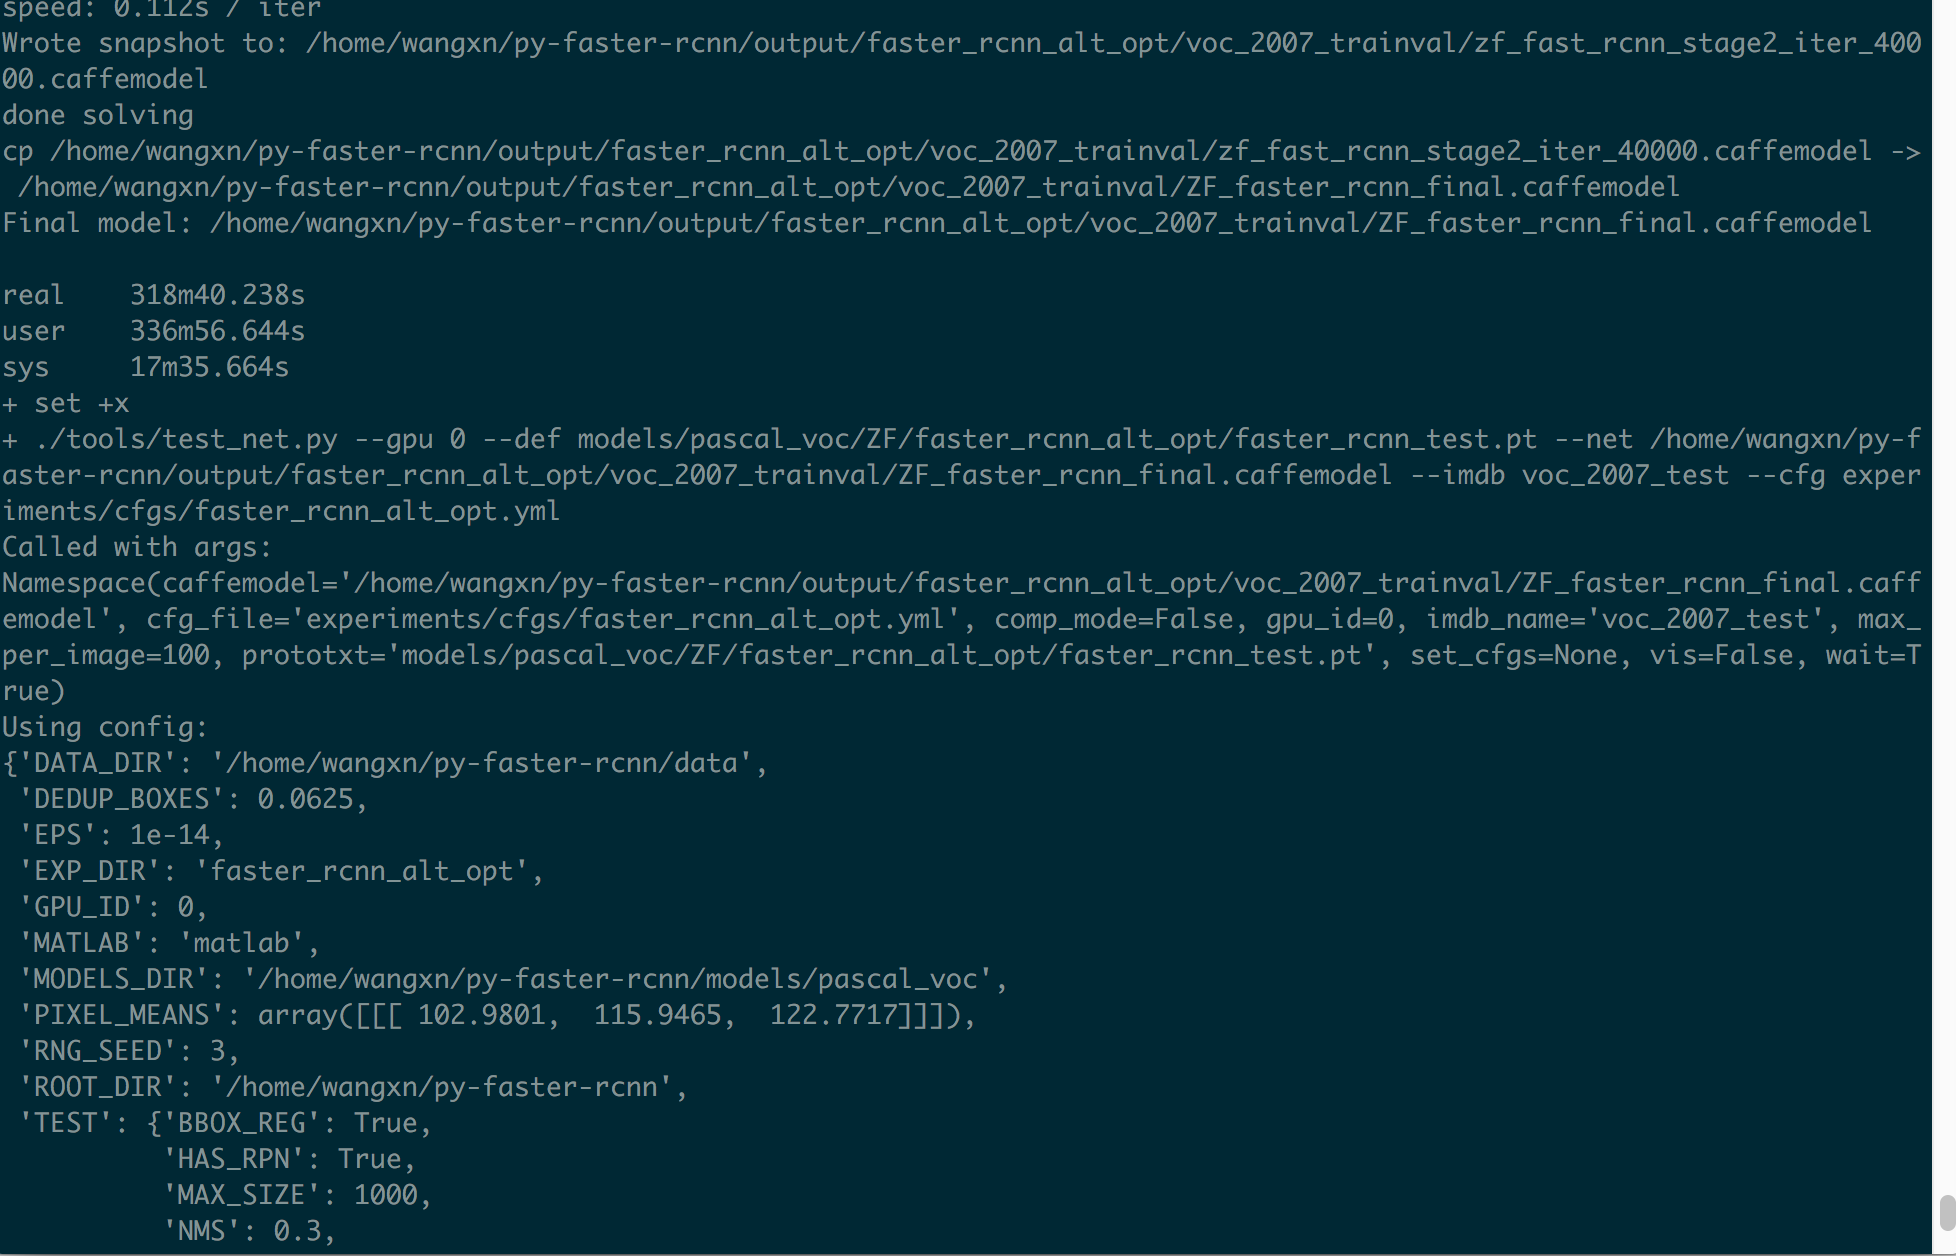
训练过程如下图所示: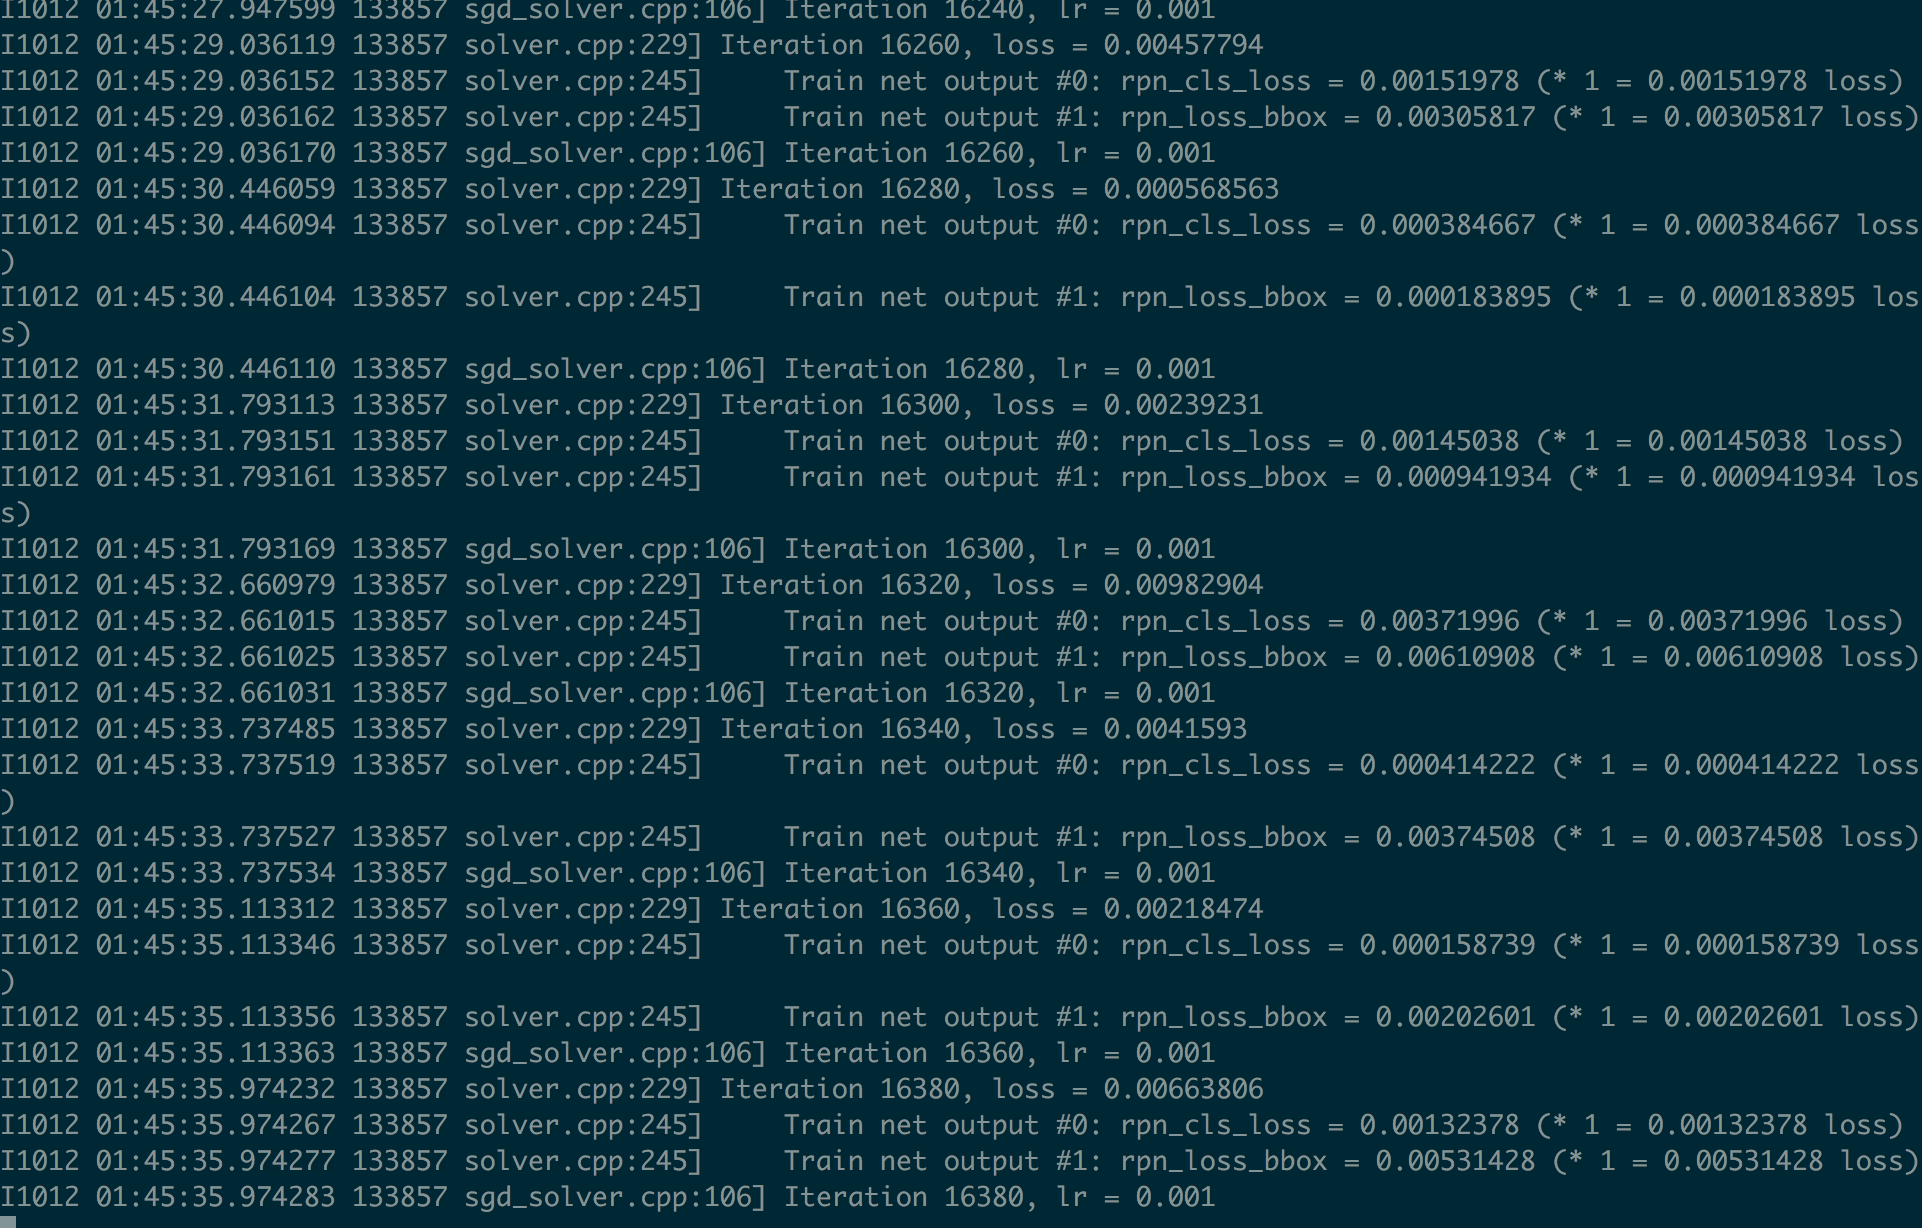
测试模型
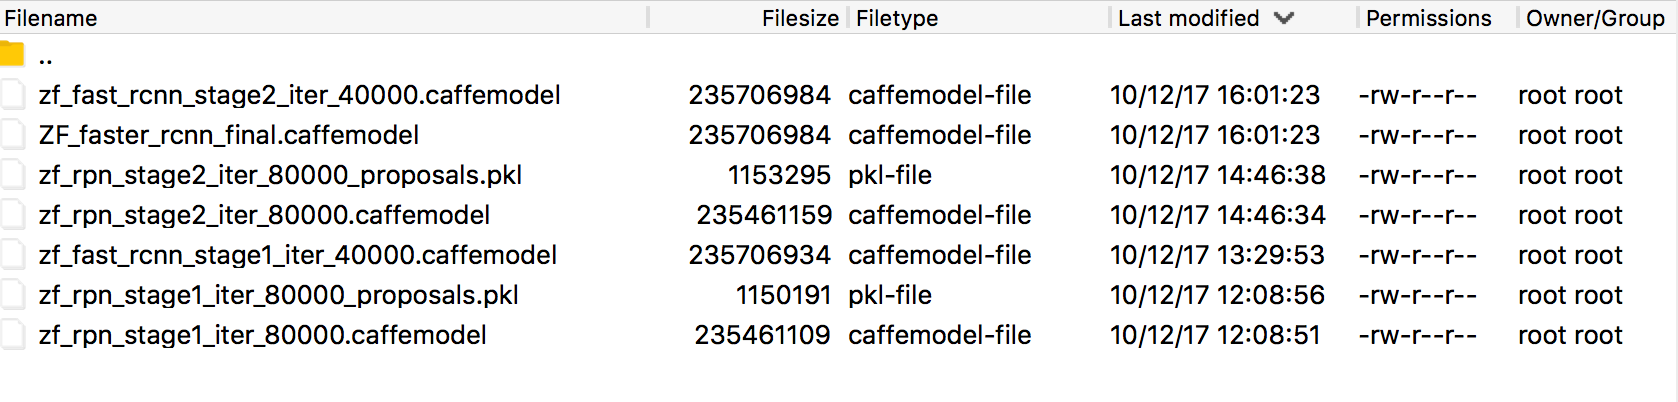
将训练得到的py-faster-rcnn/output/faster-rcnn-alt-opt/voc_2007_trainval/ZF_faster_rcnn_final.caffemodel模型拷贝到py-faster-rcnn/data/faster_rcnn_model
修改py-faster-rcnn/tools/demo.py或者新建demo-wangxn.py,具体代码如下所示:
输入测试命令:
或者将默认的模型改为zf:
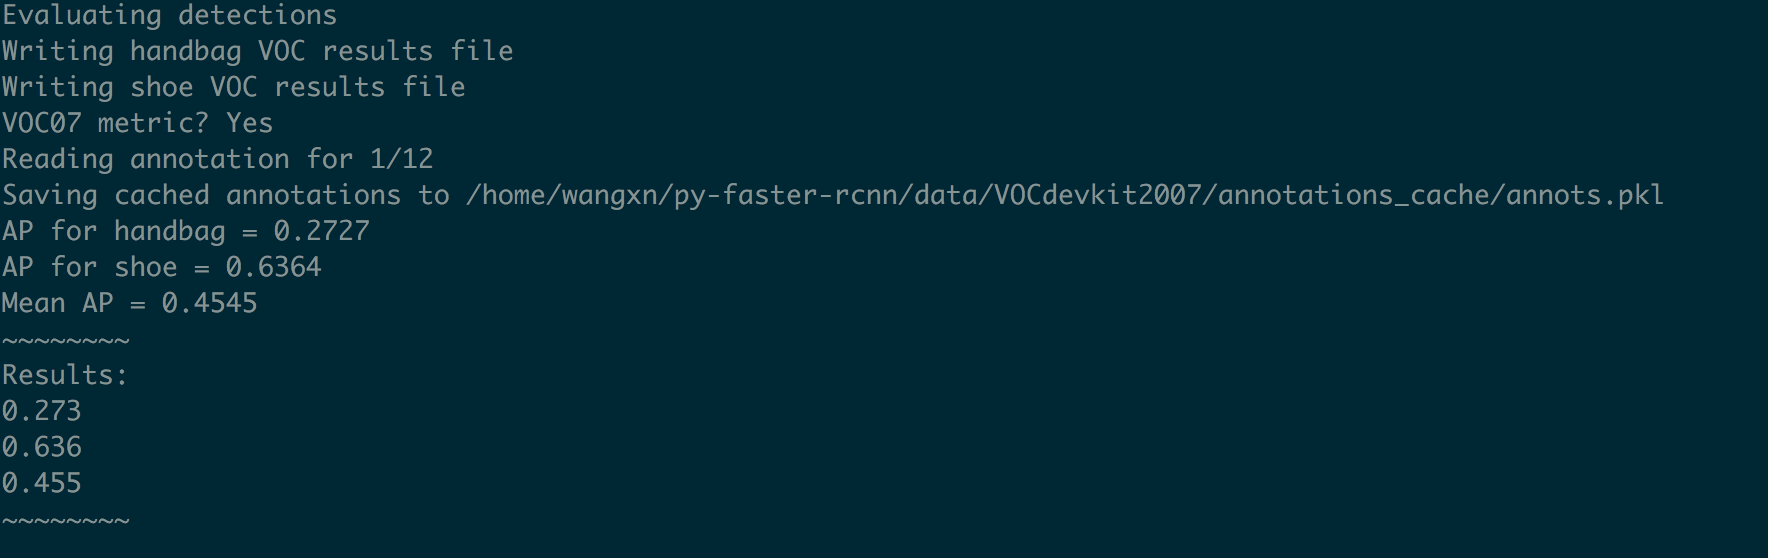
测试的结果保存到py-faster-rcnn/data/VOCdevkit2007/VOC2007/TestResults.
Trouble Shooting
‘assert(boxes[:,2]>=boxes[:,0]).all() issue
出现问题:训练faster rcnn时出现如下报错:
检查自己数据发现,左上角坐标(x,y)可能为0,或标定区域溢出图片.
而faster rcnn会对Xmin,Ymin,Xmax,Ymax进行减一操作, 如果Xmin为0,减一后变为65535
问题解决:
1、修改lib/datasets/imdb.py,append_flipped_images()函数
数据整理,在一行代码为 boxes[:, 2] = widths[i] - oldx1 - 1下加入代码:
2、修改lib/datasets/pascal_voc.py, load_pascal_annotation(,)函数将对Xmin,Ymin,Xmax,Ymax减一去掉.
3、(可选,如果1和2可以解决问题,就没必要用3)修改lib/fast_rcnn/config.py,不使图片实现翻转,如下改为:
‘max_overlaps’ issue
使用自己数据集训练Faster-RCNN模型时,如果出现’max_overlaps’ issue, 极有可能是因为之前训练时出现错误,但pkl文件仍在cache中。所以解决的方法是删除在py-faster-rcnn/data/cache目录下的pkl文件。
中文显示
以py-faster-rcnn的demo.py代码为基础,在demo.py中的修改如下:
指定默认编码:
123import caffe, os, sys, cv2reload(sys)sys.setdefaultencoding('utf-8')设置中文字体:
1234567891011def vis_detections(im, class_name, dets, thresh=0.5):"""Draw detected bounding boxes."""inds = np.where(dets[:, -1] >= thresh)[0]if len(inds) == 0:returnim = im[:, :, (2, 1, 0)]zhfont = matplotlib.font_manager.FontProperties(fname="/usr/share/fonts/truetype/droid/DroidSansFallbackFull.ttf") #字体fig, ax = plt.subplots(figsize=(12, 12))ax.imshow(im, aspect='equal')
上面的zhfont就是设置的中文字体,由于系统的原因,这个路径不一定相同,所以,用下面的命令确定你的中文字体路径:
- 添加参数
还是vis_detections()这个函数,修改:
那个s就是识别的结果(有中文),color后面添加fontproperties = zhfont
这样,就可以在图像上显示中文了.