前言
本篇我们将按照Hyperledger Doc: Building Your First Network,体验fabric-samples-1.1.0中的first-network示例。
first-network这个示例的场景是由两个组织组成Hyperledger Fabric的网络,其中只有一个orderer节点,每个组织有2个peer节点。
使用Ubuntu16.04主机作为运行环境,已经安装好了docker和docker-compose。
安装Hyperledger Fabric
下载源码并解压缩:
执行bootstrap.sh脚本可下载对应平台的fabric二进制版本和pull相关的docker镜像。
查看下载fabric二进制文件:
并将这些二进制文件设置到环境变量PATH中,例如:
查看pull的docker镜像:
安装fabric-samples-1.1.0
下载fabric-samples-1.1.0:
|
|
其中byfn.sh是一个完整的脚本,提供了快速引导启动4个分别属于两个不同组织的peer节点容器和一个排序服务orderer节点容器成的Hyperledger Fabric网络。这个脚本还将启动一个容器来运行将peer节点加入channel,部署实例化chaincode以及驱动以及部署的chaincode执行交易的脚本。
生成证书和区块
下载的二进制文件cryptogen、configtxgen拷贝到first-network目录下。
执行./byfn.sh generate命令就可以生成证书和区块。
如果遇到dns解析错误,请参考如下:
原因分析:
近期新创建的ECS主机中的resolv.conf内容发生了变化 -> 导致Hyperledger Fabric的容器内域名解析从pure Go resolver切换至cgo resolver -> 触发了一个已知的由静态链接cgo导致的SIGSEGV错误 -> 导致Hyperledger Fabric部署失败
解决方案:
更新Hyperledger Fabric的docker compose yaml模板,为所有Hyperledger Fabric的节点(如orderer, peer, ca, cli等)添加环境变量GODEBUG=netdns=go以强制使用pure Go resolver。
体验Fabric
执行下面的命令:
搭建Hyperledger Explorer
搭建Hyperledger Explorer环境需要一个PostgreSQL数据库,并需要进行初始化。具体参见:https://github.com/osswangxining/blockchain-explorer。
PostgreSQL
为简易起见,可以使用已构建好的针对Hyperledger Explorer所需的PostgreSQL Docker镜像,地址如下:
https://hub.docker.com/r/osswangxining/hyperledger-explorer-postgresql/
拉取镜像文件:
启动容器:
Hyperledger Explorer
Hyperledger Explorer本身是一个Nodejs编写的Web应用,为简易起见,可以使用已构建好的Docker镜像搭建环境,地址如下:
https://hub.docker.com/r/osswangxining/hyperledger-explorer/
数据库启动之后,拉取Hyperledger Explorer镜像文件:
启动容器:
注意事项
- 挂载定制后的config.json到路径/blockchain-explorer/config.json (该路径是指在容器中的实际路径)
- 挂载上述步骤生成的crypto-config目录到容器中的路径{crypto-config}
- {crypto-config} 的值应当与/blockchain-explorer/config.json中指定的值匹配;
修改config.json中连接PostgreSQL的信息
12345678"channel": "mychannel","pg": {"host": "127.0.0.1","port": "5432","database": "fabricexplorer","username": "hppoc","passwd": "password"}
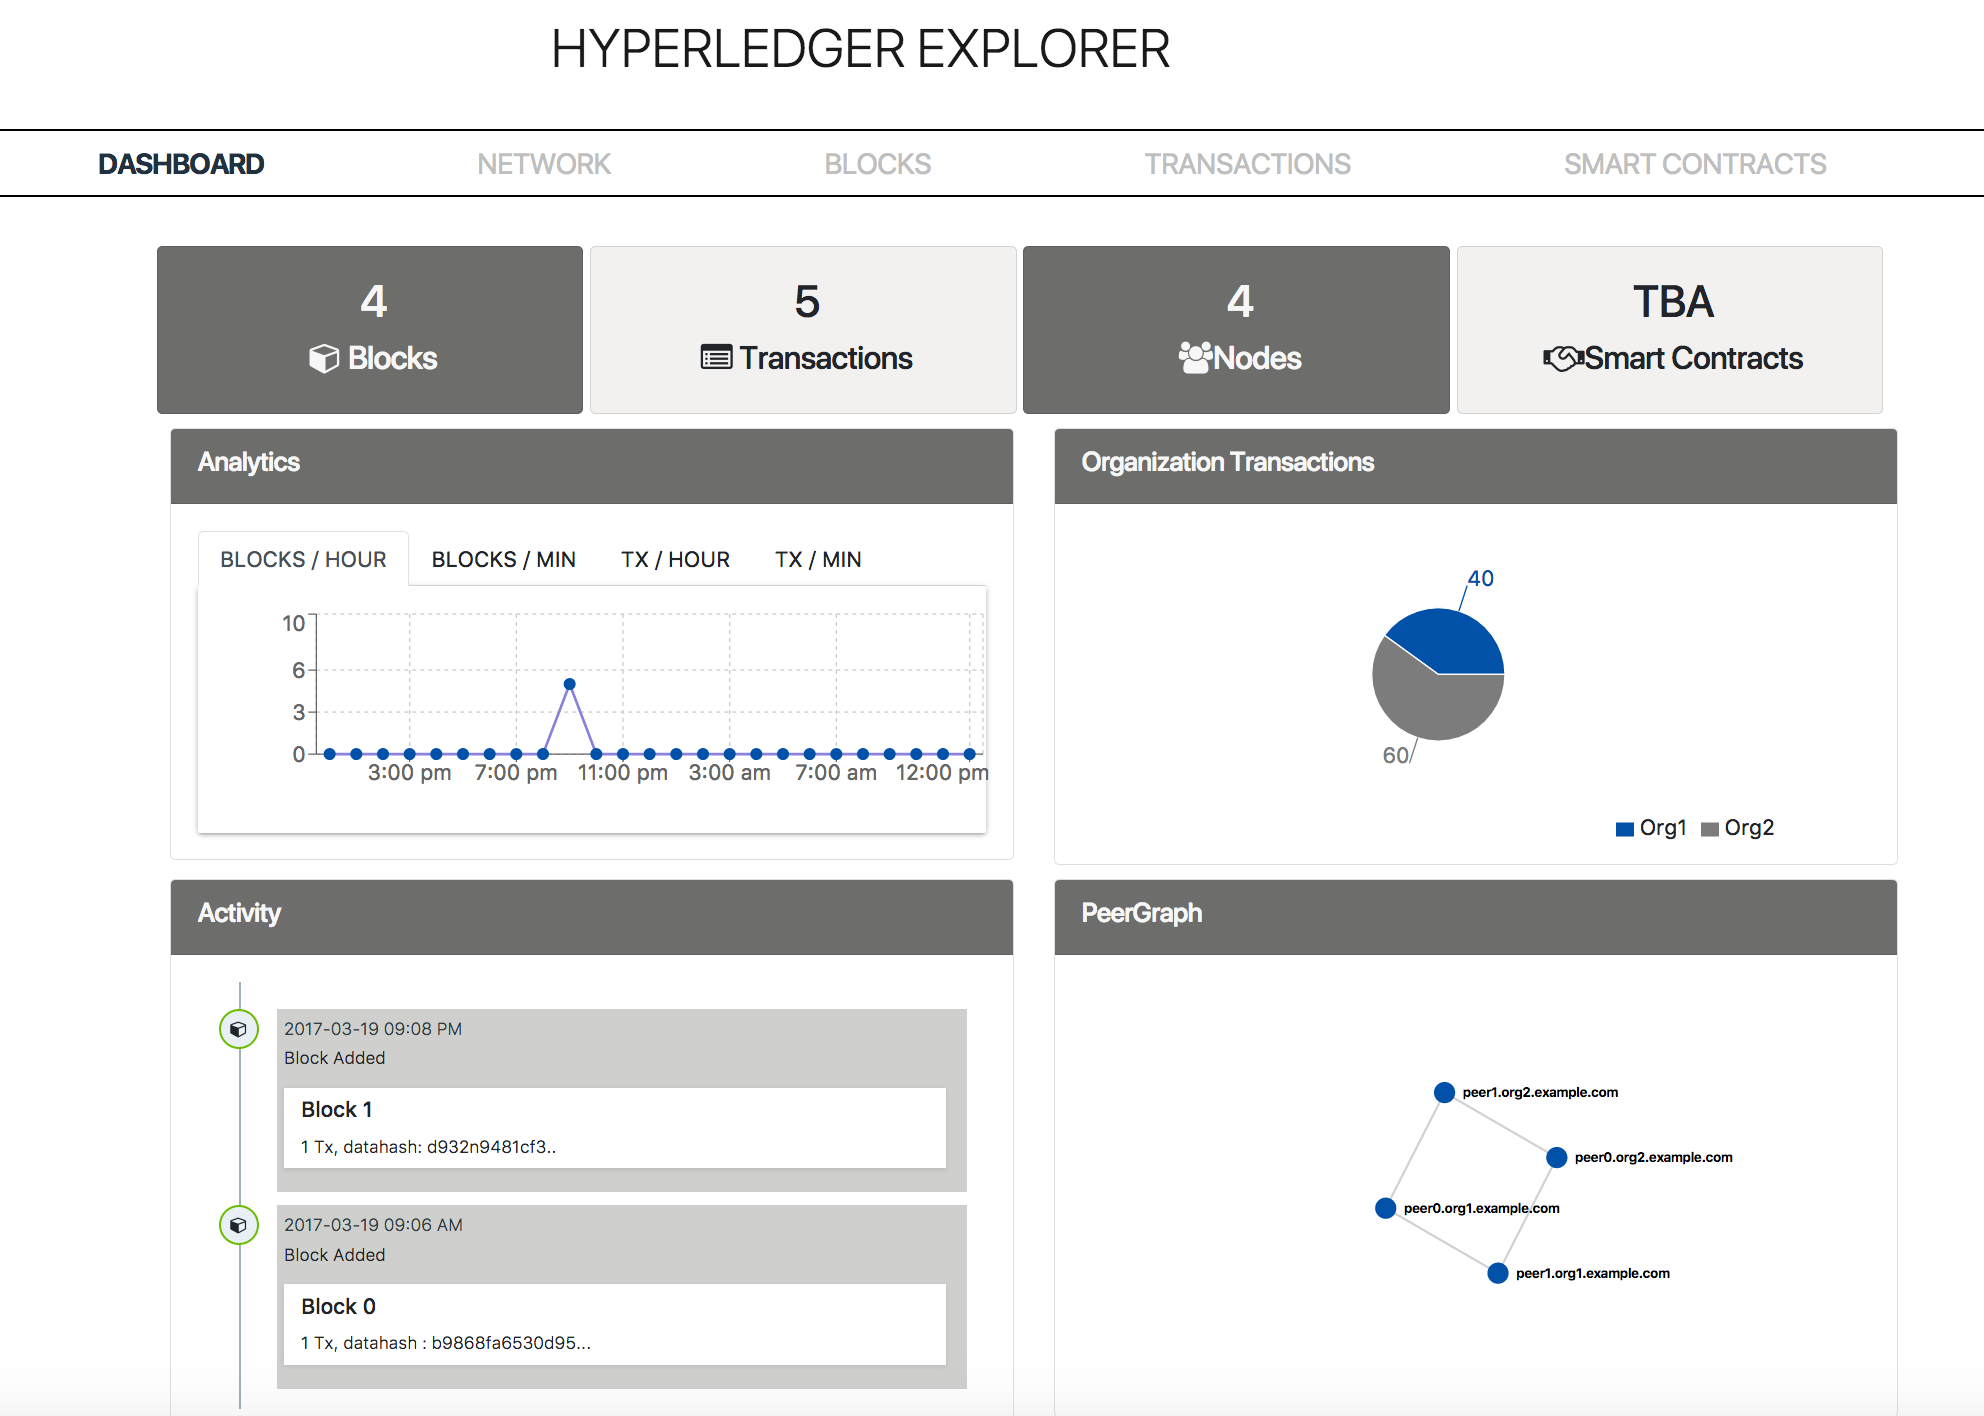
Explorer控制台
打开浏览器,输入地址http://localhost:8080可以看到如下: